Creating an Excel Rebar Quantities File
You can also create a rebar project by preparing an Excel file that complies with the format we have specified. In the top row of the Excel file, you should enter the following values into the cells:
| POZ | QUANTITY | LENGTH | DIAMETER | FLOOR | STRUCTURAL ELEMENT | ELEMENT NAME | DESCRIPTION |
|---|
It does not matter whether these values are written in uppercase or lowercase letters, or whether Turkish characters are used.
After entering these values in the top row, you should write the necessary information for each rebar group in the corresponding row under the relevant column. An example view is as follows:
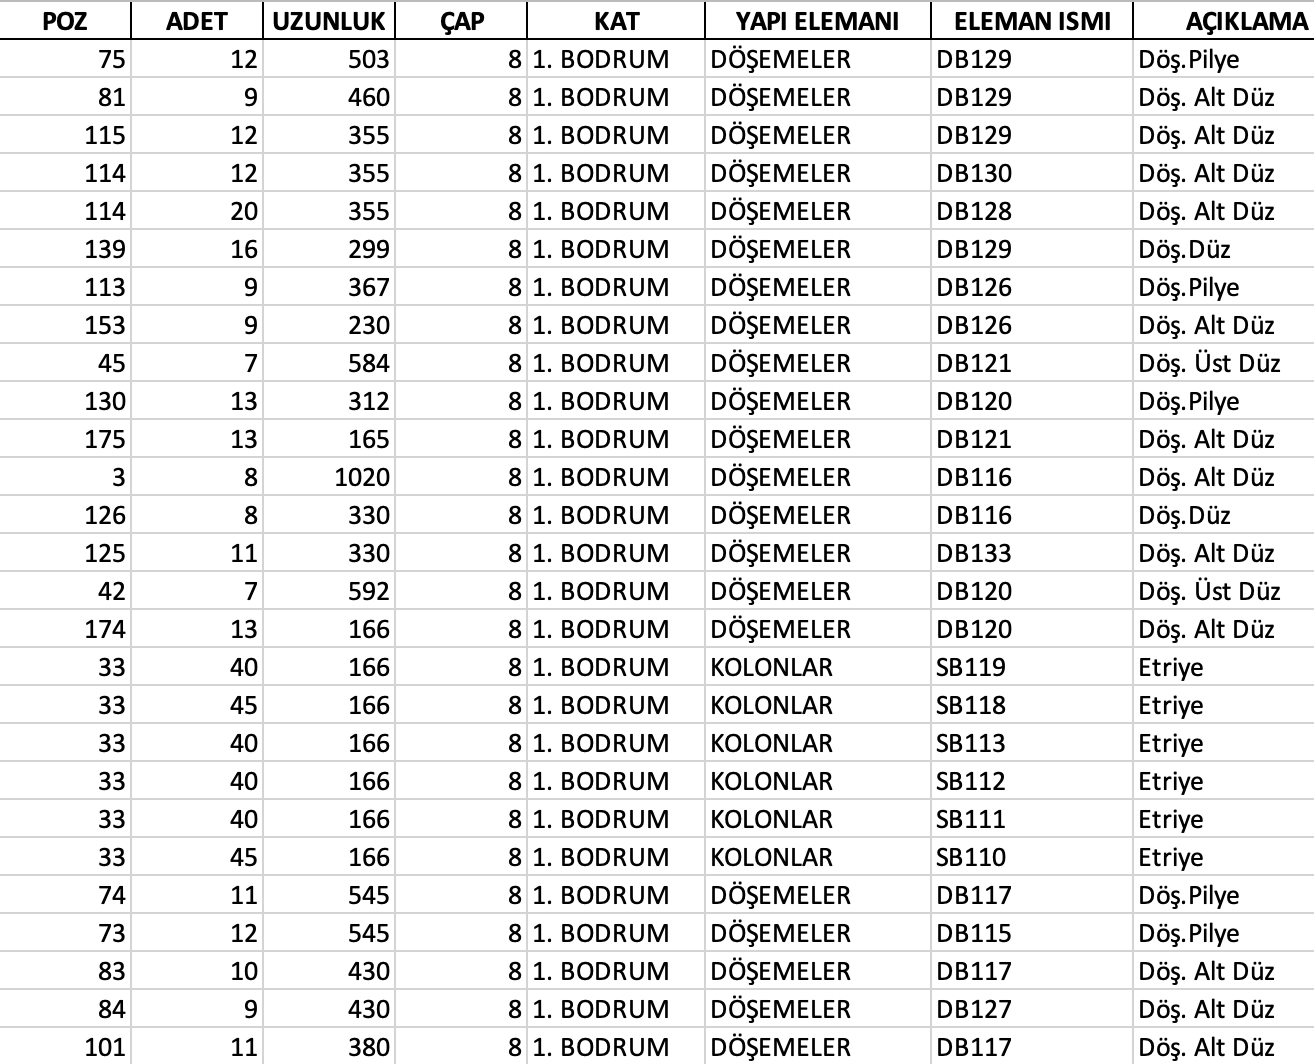
- POZ: The position value of the rebar group. It can be a number or text. It is not mandatory. If not entered, the program will automatically assign a position number to each rebar group starting from 1 in the order the rebars are read.
- QUANTITY (mandatory): The quantity of the rebar group. This is mandatory. If the quantity information is not entered, the project cannot be created.
- LENGTH (mandatory): The length of the rebars in the group in cm. This is mandatory. If the length information is not entered, the project cannot be created.
- DIAMETER (mandatory): The diameter of the rebars in the group in mm. This is mandatory. If the diameter information is not entered, the project cannot be created.
- FLOOR: The floor information where the rebar group is located. Entering the floors in sequential order is important for correctly obtaining the floor sequence. If no rebars for the "1st Floor" are entered, and rebars for the "Basement Floor" are followed by rebars for the "2nd Floor," the program will interpret the "2nd Floor" as the floor following the "Basement" and assume the "1st Floor" comes after the "2nd Floor." At least one row for the "1st Floor" must be entered after the "Basement" rebars and before the "2nd Floor" rebars. Floor information is not mandatory. If floor information cannot be obtained, "#" will be used as the floor information for the rebars.
- STRUCTURAL ELEMENT: The name of the structural element to which the rebar group belongs (Slab, Beam, Column, etc.). It is important that the structural element information for the same element is written exactly the same. For example, if this information is entered as "Slab" for a rebar group belonging to a slab, it should not be written as "Slabs" or "Slaab" for another rebar group belonging to the same structural element; it should again be written as "Slab." Structural element information is not mandatory. If structural element information cannot be obtained, "#" will be used as the structural element information for the rebars.
- ELEMENT NAME: The specific code of the structural element to which the rebar group belongs, such as D130, S345, P123, etc. Element name information is not mandatory. If element name information cannot be obtained, "#" will be used as the element name information for the rebars.
- DESCRIPTION: A description related to the rebar group. You can write the function of the rebar group, such as stirrup, tie, hook, etc. Description information is not mandatory. If description information cannot be obtained, "#" will be used as the description information for the rebars.
All projects uploaded to the system are converted into this Excel format by Tasnifer, allowing these projects to be downloaded later and re-uploaded to the system. By uploading the detailed quantity takeoff files of ideCad or STA4Cad to Tasnifer, you can download the project file in the specified Excel format for free, make the necessary changes, and re-upload it as a new project to Tasnifer.